Contact Us
Decorating on a budget? Then chalk painting is for you. It’s a super easy and cost effective way to spruce up some old pieces of furniture.
Here’s what you’ll need:
1. Furniture:I found the table for this project in someone’s trash. Score!
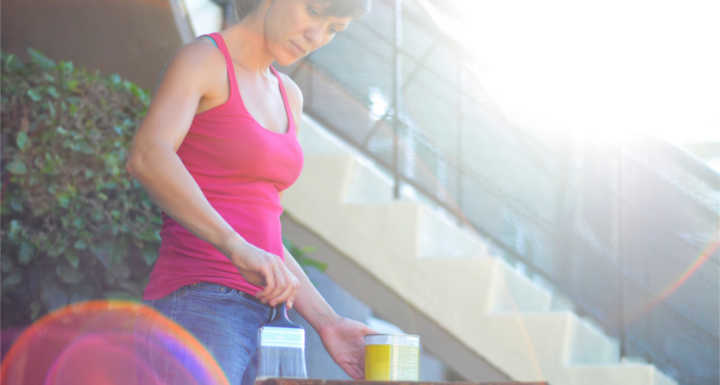
2. Chalk paint (Not to be confused with chalkboard paint): I found the paint for the project at Michael’s. There are more expensive brands, but I find that this paint works just as good as the expensive boutique brands. Plus, I used my 40% off coupon. Double score!! Cost of paint before the coupon is $8.99.
3. A paint brush.
4. A clean basic kitchen sponge.
5. A big bowl of water.

Here’s what my table looked like before the treatment.

To get it ready for painting, I just wiped it down with a damp cloth. No sanding is necessary for any part of this project.

This is what the table looked like after the first coat. Don’t panic. It gets better. This project took three coats.

Here’s what the table looked like after three coats. Don’t panic. The finish will look very imperfect and chalky.
Note the drip in the middle of the side panel. Not a big deal. I will hide this imperfection by turning it into a distressed look on the next phase.Do not try to wipe off the paint with your sponge until the paint is completely dry.Seriously. The paint can tell if you try to cheat.

Now it’s time for the fun part. Take your clean kitchen sponge and cut it in half. Dip the sponge in your big bowl of water and start washing away the paint on the edges to get that distressed look. Don’t overdo it. You want to avoid making your piece look like a leopard.


Now it’s time for the fun part. Take your clean kitchen sponge and cut it in half. Dip the sponge in your big bowl of water and start washing away the paint on the edges to get that distressed look. Don’t overdo it. You want to avoid making your piece look like a leopard.

Remember those chalky edges? Simply wipe those imperfections away with your sponge. I also use the damp sponge to smooth out brush strokes throughout the piece. Just play with it. The piece is supposed to look distressed. Don’t overthink it.

And remember that big drip on the side panel? I just wiped it away to give it that distressed look. Problem solved.

Once the piece has dried from the distressing phase, it’s time to seal the finish with furniture wax. Again, every boutique that sells chalk paint has their brand of wax, but I find Minwax from your local home improvement store works just fine.
I use one of my kid’s old socks that no longer has a match to apply the wax. Just grab a big glob of wax with your sock hand and start rubbing it in to the finish. If the wax is taking the paint off of the piece, then stop. It means you didn’t wait long enough for the paint to dry from the distressing technique.
Minwax has an orange hue, but don’t worry, it dries clear.
Put a good coat all over the piece, and then you may want to add an extra two or three coats on the top of the piece.
Do not put anything on the piece until the wax has cured (48 hours).

Then, just treat it like a regular piece of furniture.
Now be brave and go refinish that ugly piece of furniture. You can do it!

Tasha Levert, Ph.D., is a licensed professional counselor in New Orleans who provides face-to-face and online care. She is a conference speaker, worship leader and the author of Stories of Hope for the Sleep Deprived.Tasha and her husband Tim (Pastor with Students at the Vineyard Church of New Orleans) have three beautiful daughters and a lazy schnauzer named Gumbo.
To find out more about Tasha or her practice go to
tashalevert.comorbroomtreecounseling.com.
