Contact Us
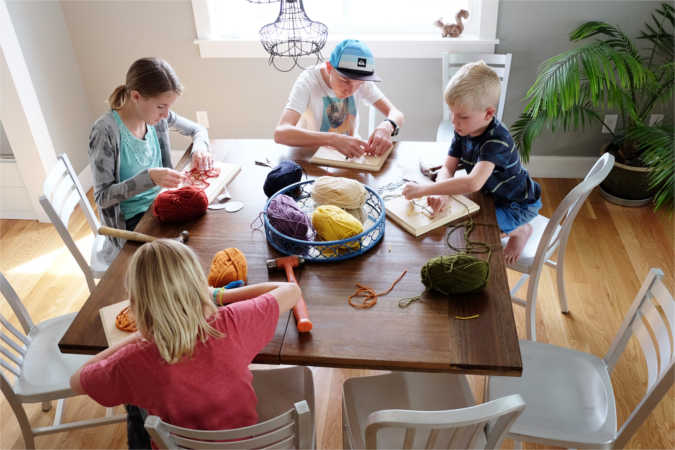
Long summer days are a blessing and a curse. This is especially true for kids who are used to being in school all day. This activity works great for older kids who can accomplish most of the tasks themselves. Little ones might need an extra set of hands, and could benefit from nails with larger heads to hold the yarn in place. Guaranteed to fill an afternoon.
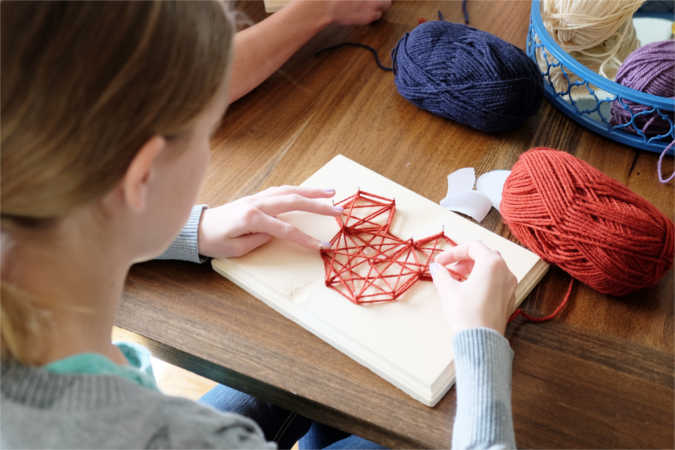
String Art
What you’ll need:
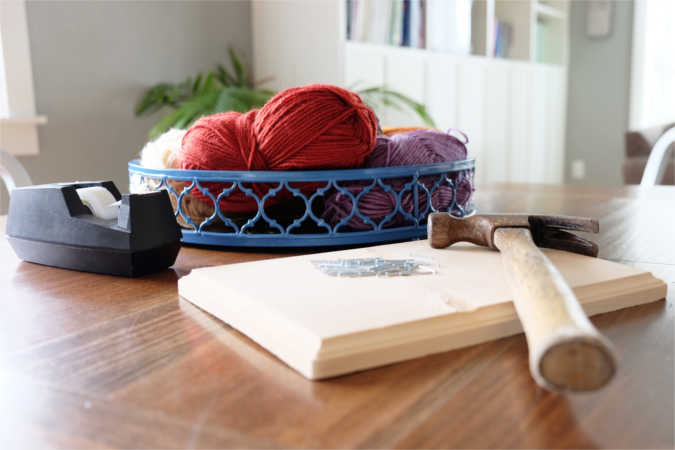
- unfinished wood block (at least one inch thick)
- hammer & nails
- yarn & scissors
- tape & pencil
- computer & paper
1. Print or trace a shape on a piece of paper. You can find a lot of great patterns and shapes atstringartdiy.com.
2. Center the paper on the wood and tape down so it won’t move around.
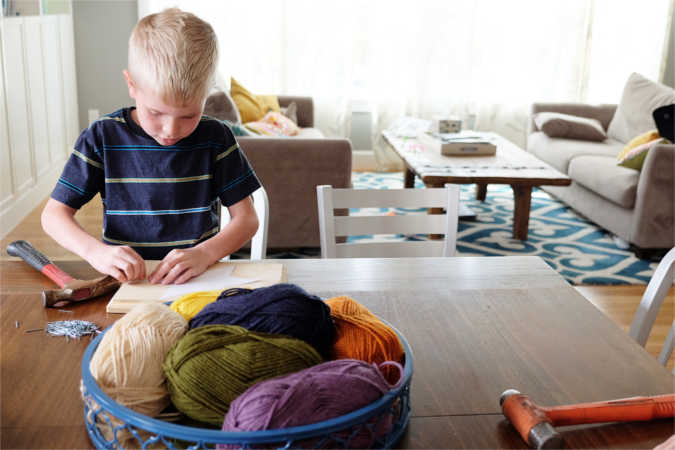
3. Use a pencil to mark approximately every ½ inch all the way around the image to mark where to place the nails.
4. Hammer nails into the board at an even height so the yarn will easily wrap around each of the nails.
5. Once nails are set, rip the paper away and begin to string!
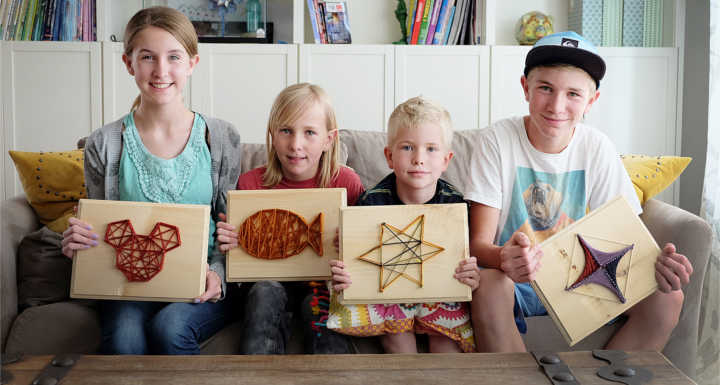
Photography by Cameron Washburn. Ben, 15, Charlotte, 13, Caroline, 10, and Duncan, 7, helped us play around with string art!
Adapted from craftsunleashed.com/decor-home/diy-string-art-for-kids/.
 This originally appeared in Hello, Dearest Summer 2015. If you didn’t get a copy and would like your own, you can subscribe to get Hello, Dearest in your mailbox every season. If you subscribe, forward your receipt to magazines@mops.org and we’ll shoot a copy of the current issue in the mail to you for free … just because we like you.